1. Home
  2. World Wars
  3. First World War
  4. Battle of Jutland

Battle

Battle of Jutland

31 May — 1 June 1916

Two fleets find one another; only one can risk losing control of the sea

Military history

How did Scheer escape the concentrated British fleet while the blockade remained intact?

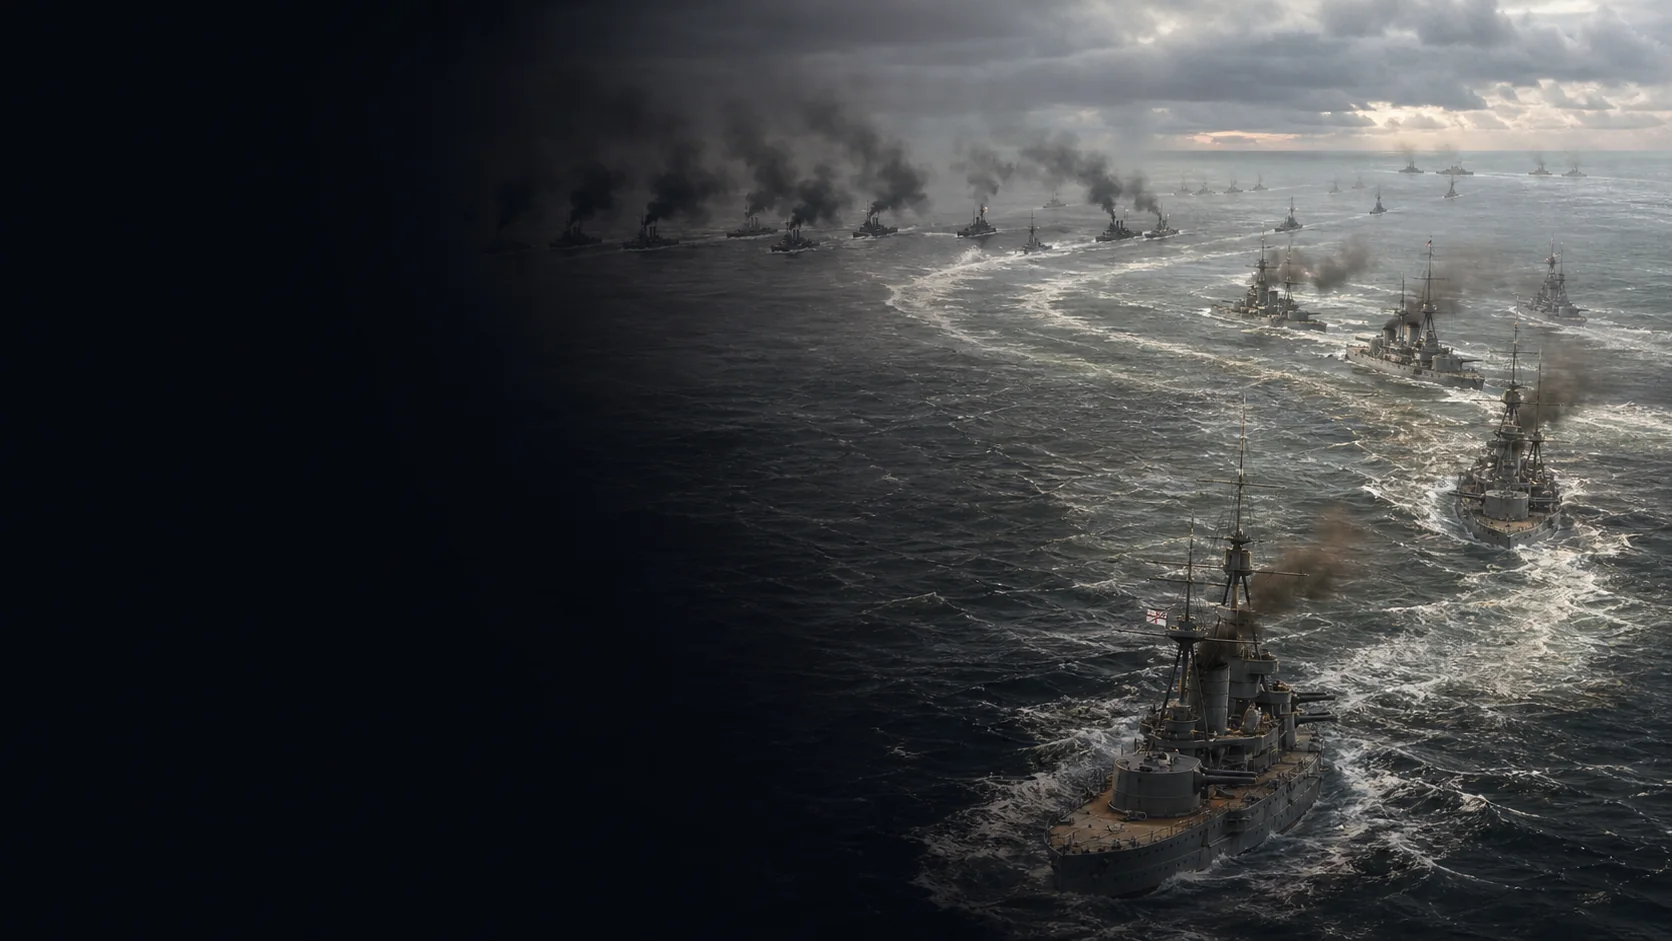
On 31 May 1916, the German fleet put to sea to lure out and destroy part of the Royal Navy. British intelligence, however, had sent the Grand Fleet to sea first, without giving it a perfectly reliable picture. Beatty's and Hipper's battlecruisers therefore opened a double-layered trap: each led the other towards his own battleships. When Scheer discovered Jellicoe's deployed line, his problem was no longer to win the opening exchange, but to extract the High Seas Fleet before nightfall. Jutland must therefore be understood at three different scales: German material advantage in the fighting, Scheer's operational escape, and continued British blockade and strategic command of the sea.

A German sortie against part of the fleet

Scheer did not deliberately seek battle with the whole Grand Fleet. His plan, modified when the attack on Sunderland became impracticable, sent Hipper towards the Skagerrak to draw the advanced British forces onto the High Seas Fleet. This logic required the German concentration to remain concealed and its victim to stay isolated long enough.

Decisive yet imperfect intelligence

Room 40 enabled the Admiralty to send Jellicoe and Beatty to sea before the German fleet. A later interpretation of Scheer's call sign, which remained at Wilhelmshaven, nevertheless suggested that the commander had not sailed. The British therefore held an advantage in positioning, which must be distinguished from omniscience.

Unequal forces, seen only in fragments

Epkenhans's reference count gives 151 British ships and 91 German; broader institutional lists raise the German total to 99 depending on which auxiliaries and torpedo boats are included. British superiority was clear—twenty-eight modern battleships and nine battlecruisers against sixteen, six pre-dreadnoughts and five—but visibility, distance and deployment time prevented it from being converted instantly into a combined salvo.

Three separate outcomes

The Royal Navy lost more ships, tonnage and men. Yet Scheer brought his fleet home by passing through the British rear guard; it was neither destroyed nor free to lift the blockade. The tactical result, the operational escape and the strategic situation therefore answer three different questions.

Explore

Chronological dossier

Battle · 21 February — 15 December 1916VerdunThe German concentration opens the right bank but does not take Verdun; reliefs, artillery and the Sacred Way stabilise both banks, then the October and December offensives recapture Douaumont, Vaux and most of the eastern gains.Battle · 24 October — 12 November 1917CaporettoThree coordinated penetrations through Plezzo, the Isonzo valley and the ridges shatter the IV and XXVII Corps, then the pursuit drives the Italian army back to the Piave.Battle · 8 — 12 August 1918AmiensThe Allies combine tanks, artillery, aviation and infantry to break German defences before they can be rebuilt.Battle · 19 — 25 September 1918MegiddoAllenby pins the Ottomans in the east, breaks through near the coast and sends cavalry into the rear of the Eighth Army.Battle · 26 — 30 August 1914TannenbergThe Germans strip the north, strike Samsonov's two wings separately, then close the roads through Neidenburg, Passenheim and Willenberg around his centre.Battle · 19 February 1915 — 9 January 1916Gallipoli CampaignMines halt the naval gamble; separate landings remain contained below the ridges, then deception enables the evacuation of Anzac, Suvla and Helles.Battle · 1 July — 18 November 1916Battle of the SommeThe bombardment produces opposite results in different sectors; gains in the south and at Bazentin run into strongpoints and reserves, then four months of adaptation push the front back without opening it.Battle · 4 June — 20 September 1916Brusilov OffensiveFour armies prepare several sectors and open the Austro-Hungarian front together; when reserves belatedly concentrate towards Kovel, the Stokhid, German reinforcements and lengthening supply lines exhaust the exploitation.

Military history

Sources

Contemporary official compilationThe Battle of Jutland Bank — dispatches of Jellicoe and Beatty

Internet Archive, notice de l’édition de 1916, 107 pp. ; compilation contemporaine des dépêches de Jellicoe et Beatty. Les jalons horaires et la séquence sont recoupés avec Jellicoe, The Grand Fleet, chap. XII–XV.

Checking the chronology and nature of contemporary official dispatches; loss estimates published immediately after the event are treated as claims to be cross-checked.

View ↗
Retrospective primary memoirJohn Jellicoe, The Grand Fleet, 1914–1916

chap. XII, pp. 304–340 ; chap. XIII, pp. 341–369, spécialement pp. 344–346 sur les relèvements et 18 h 14–18 h 16 ; chap. XIV, pp. 370–389 ; chap. XV, pp. 390–414 ; diagrammes pp. 511–514.

British order of march, uncertainty over positions, deployment decision, responses to torpedoes and reconstruction of the night.

View ↗
Retrospective primary memoirReinhard Scheer, Germany’s High Sea Fleet in the World War — The Battle of Skagerrak, planning and order of battle

chap. X, section « Preparations » ; amorces « The object of the next undertaking was a bombardment », puis « Sunderland » ; « The plan was so far changed » ; « On May 30 » puis « advance in direction of Skagerrak » ; ordre de bataille à la suite.

Purpose of the sortie, modification of the plan, German timings and composition of the High Seas Fleet.

View ↗
Retrospective primary memoirReinhard Scheer — The Battle of Skagerrak, battle-cruiser action

chap. X, section de l’action des croiseurs ; amorces « At 4.28 P.M. » puis « Elbing », « The enemy deployed to the south » et passages sur Indefatigable, Queen Mary puis la poursuite vers le nord.

First contact from the German perspective, Hipper's role, British losses and Beatty's pursuit.

View ↗
Retrospective primary memoirReinhard Scheer — The Battle of Skagerrak, fleet turns and renewed advance

chap. X ; amorces « There was but one way of averting this—to force the enemy into a second battle » et « The battle-cruisers were ordered to operate with full strength on the enemy’s leading point » ; passages sur fumée, demi-tours et attaque de torpilleurs.

Retrospective justification of the second advance, two simultaneous turnabouts and cover for the disengagement.

View ↗
Retrospective primary memoirReinhard Scheer — The Battle of Skagerrak, dawn, losses and conclusions

section 6, « The Situation on the Morning of June 1 » ; amorces « I therefore abandoned the idea of further operations », « Losses on Both Sides » et rapport de juillet : « even the most successful result from a high sea battle will not compel England to make peace » ; note sur l’heure allemande GMT+2.

Return via Horns Reef, abandonment of the renewed operation, the strategic significance acknowledged by Scheer and normalisation of times.

View ↗
Specialist academic synthesisMichael Epkenhans, Jutland, Battle of — 1914-1918 Online

sections « Naval War from 1914–1916 », « The Battle of Jutland » et « Who Won the Battle? » ; paragraphes sur 18 h 15, les deux retournements, 6 094/2 551 morts et 113 000/62 300 tonnes.

Strategic framework, comparative chronology, tonnages and the distinction between the material outcome and continuation of the blockade.

View ↗
Academic biographical entryAndrew Lambert, Jellicoe, John Rushworth Jellicoe, Earl — 1914-1918 Online

section « Battle of Jutland » ; paragraphes sur l’interception, le déploiement depuis six colonnes, la lumière, les deux retraites allemandes et les rapports nocturnes non transmis.

Constraints on Jellicoe's decision, deployment and the strategic significance of the Grand Fleet's survival.

View ↗
Specialist academic synthesisStephan Huck, High Seas Fleet — 1914-1918 Online

section « The Battle of Jutland » ; paragraphes sur la revendication de victoire, la continuité du blocus et la recommandation ultérieure de guerre sous-marine sans restriction.

Significance of the battle for the High Seas Fleet and limits of the German tactical success.

View ↗
Academic and professional studyPaul G. Halpern, Jutland: The Battle, One Dimension — U.S. Naval Institute Proceedings

sections « Does Jutland Still Matter? » et « Command and Control Difficulties » ; paragraphes commençant par « The sheer size of the Royal Navy’s Grand Fleet » et « Perhaps the most glaring example at Jutland came during the night action » ; note de pertes d’après Campbell.

Ammunition and protection, signalling, night operations, both sides' intelligence and total personnel losses.

View ↗
Official institutional studyGCHQ, Signals Intelligence and the Battle of Jutland

PDF pp. 1–3 ; p. 1, paragraphe commençant par « Room 40 in the Admiralty » ; pp. 1–2, « There are two versions » sur l’indicatif resté à Wilhelmshaven et la transmission à la flotte.

Warning from signals intelligence, the interpretive error concerning Scheer and limits in converting intelligence into naval action.

View ↗
Institutional archive dossierNational Records of Scotland, The Battle of Jutland 1916

paragraphes commençant par « The Battle of Jutland began with an encounter » et « Seamen’s lives were lost » ; passages sur la TSF du Lion, la cordite, la 5e escadre, le déploiement, la nuit et les réparations.

Chronological cross-checking, technical causes of the losses, the toll of 6,097/2,551 dead and fleet availability after the battle.

View ↗
Published primary mapJellicoe, Plan 7 — Operations of Battle Cruiser Fleet, 2 p.m. to 6.15 p.m., 31 May 1916

The Grand Fleet, liste des plans et diagrammes, lignes 127–142 de l’édition HTML ; Plan 7, expliqué dans le chap. XII, avec le contact de 14 h 20 aux lignes 2798–2800.

Relative axes of Beatty, Hipper, the 5th Squadron and the main forces during the runs south and north.

View ↗
Published primary mapJellicoe, Diagram I — Plan of Jutland Battle Before and After Deployment

The Grand Fleet, liste des plans et diagrammes, lignes 127–142 de l’édition HTML ; Diagram I, complété par les passages sur 18 h 14–18 h 16 et le déploiement aux lignes 2946–3007.

Geometry of the British deployment, German approach and two breaks in contact.

View ↗
Published primary mapJellicoe, Diagram IV — Track of Squadrons During Night of May 31st to June 1st and Forenoon of June 1st 1916

The Grand Fleet, liste des plans et diagrammes, lignes 138–142 de l’édition HTML ; Diagram IV, recoupé avec les dispositions nocturnes du chap. XIV et le virage de la flotte aux lignes 3112–3118.

Relative night routes, the German passage behind the Grand Fleet and access to Horns Reef.

View ↗

Edited by BattlesInMotion.com