A line of strongpoints
Between the coast and Bir Hakeim, minefields connect spaced fortified positions. Their purpose is to channel an attack and give British armour time to intervene; they do not form a continuous infantry wall.
Battle
With supply restored, the Axis breaks the counterattacks and then isolates Tobruk.
Military history
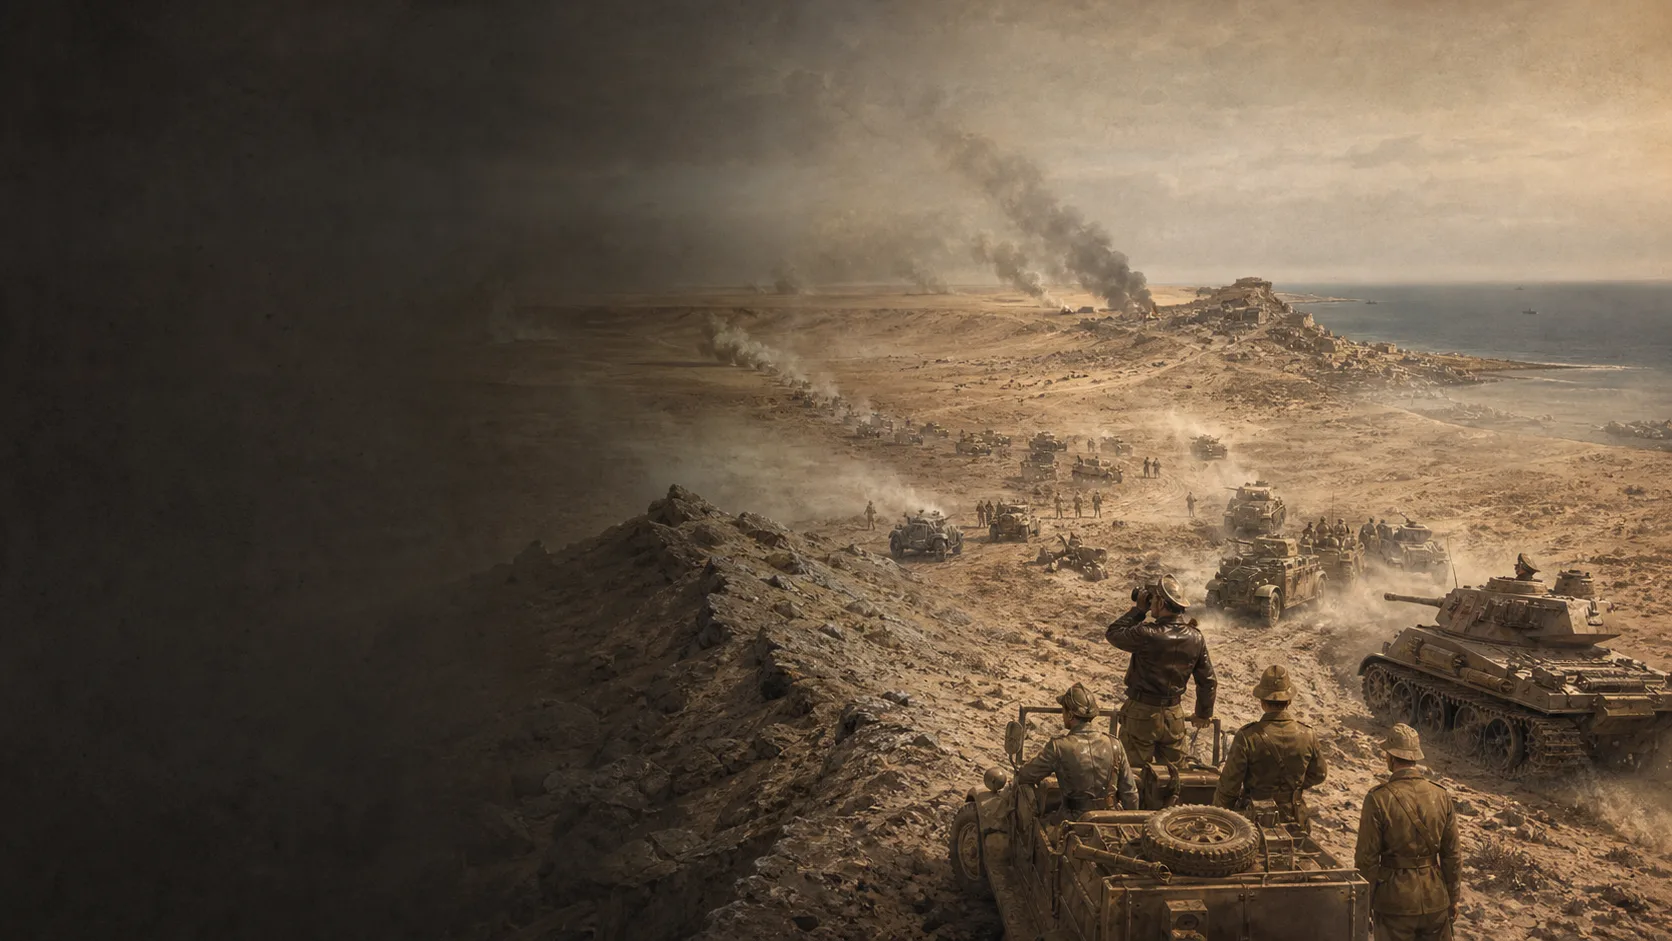
At Gazala, the British line combines minefields with separate strongpoints. Rommel outflanks it to the south, but his columns meet enemy armour and struggle to resupply. The battle turns when they reopen their communications through the line, then break the British counteroffensive in the Cauldron. Bir Hakeim still holds before a night breakout. The attrition of British armour at Knightsbridge then allows the Axis to resume its advance: the Eighth Army evacuates Gazala, while Tobruk, held separately, is isolated and surrenders.
Between the coast and Bir Hakeim, minefields connect spaced fortified positions. Their purpose is to channel an attack and give British armour time to intervene; they do not form a continuous infantry wall.
Auchinleck prepares to renew the British offensive, but Rommel attacks first. Tobruk is developed as an advanced base: holding Gazala should protect it and preserve the option to advance west again.
The main attack passes south of Bir Hakeim while a diversion pins the front. The columns must then fight behind the British line, where mines and strongpoints complicate the delivery of fuel and ammunition.
Explore
Military history
Dépêche du 27 janvier 1943, London Gazette du 15 janvier 1948, pp. 324–327 : Gazala, Aberdeen, Bir Hacheim et Tobrouk.
Crisis and restoration of communications, Operation Aberdeen, withdrawals and Tobruk’s defence. Judgments of responsibility reflect Auchinleck’s position.
View ↗Pages PDF 2–5 : position, composition, siège et sortie ; carte en double page 6–7 : dispositions et offensive des 26–27 mai.
Southern anchor, 1st Free French Brigade resistance and the 10–11 June breakout; opening map inspected on both pages.
View ↗Department of History, carte no 37 ; reproduction attribuée à l’USMA par Emerson Kent. Carte entière inspectée.
Spatial relationships among the Cauldron, Knightsbridge, Bir Hakeim, Acroma and El Adem; offensive and retreat directions.
View ↗24 octobre 1942 ; scène posée. Photographie inspectée pour le casque, la tenue et le fusil, sans en tirer un mouvement tactique.
Equipment reference for a modern illustration; not an identified regiment.
View ↗4 août 1942 ; char hors de combat inspecté par des soldats. Vue de la caisse, du train de roulement et du canon de 5 cm court.
Silhouette of a model present in the campaign; the modern illustration shows an intact vehicle, not every divisional variant.
View ↗Notice C41021 et photographie inspectées : caisse rivetée, suspension à trois bogies et tourelle Grant. Le cliché ne documente pas une unité australienne engagée à Gazala.
Silhouette and armament reference for a modern illustration of the model used by the British.
View ↗Photographie datée du 12 juin 1942, postérieure à la sortie : équipement inspecté, sans l’utiliser comme preuve d’un assaut pendant le siège.
Light kepi, desert uniform, pack and rifle of a legionnaire; the figure does not represent every contingent in the brigade.
View ↗Objet 1975-03-63-7-94 : notice mentionnant la réception des premiers Grant en mars 1942.
Grant tanks were present in British units before Gazala; no claim that the collective marker represents only that regiment.
View ↗